

Table of Contents
Sourdough Magic: Your Guide!
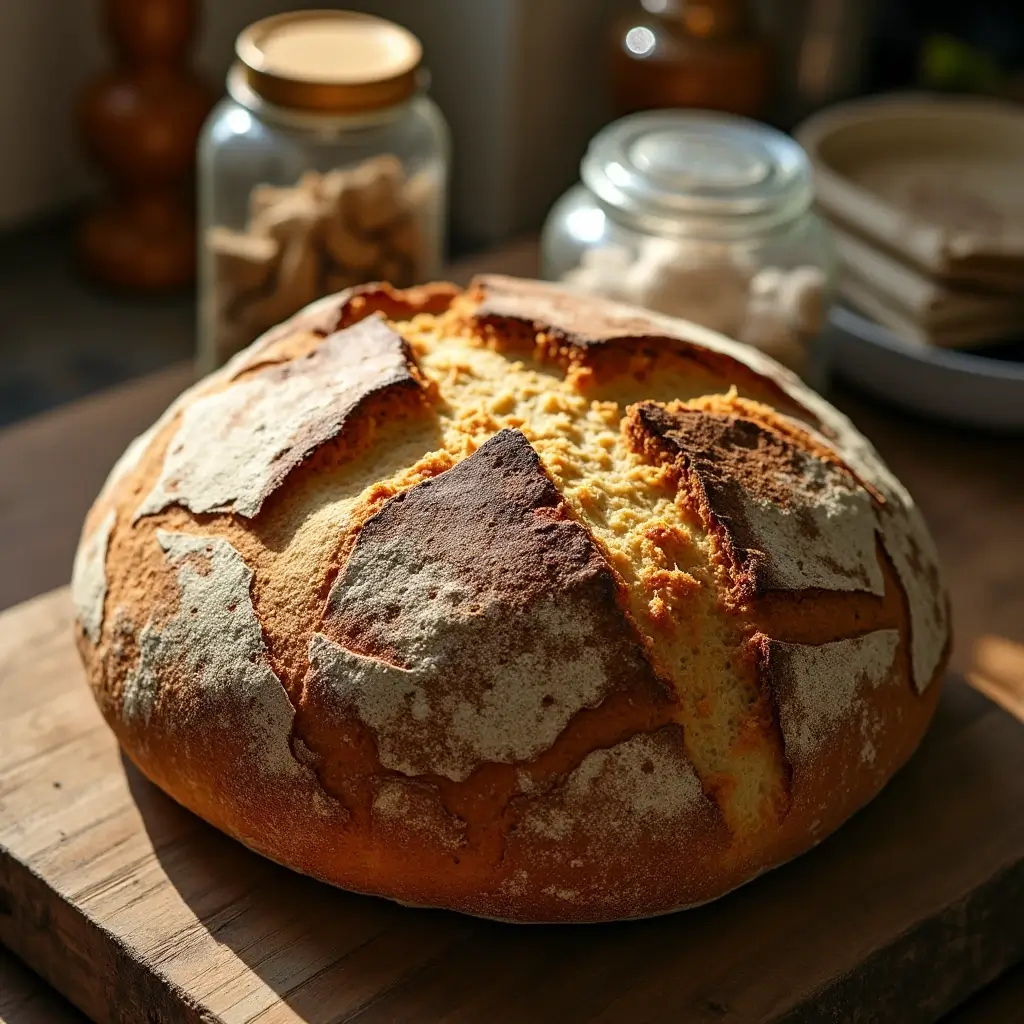
Active sourdough recipes are more than just bread—they’re an experience. From the tangy aroma to the chewy crumb and crackling crust, every step is a joy. While perfecting that Instagram-worthy loaf can be tricky with an active starter, don’t worry! This guide covers everything from simple loaves to adventurous variations, with clear instructions, essential ingredients, and troubleshooting tips. Let’s unlock the magic of active sourdough recipes and create the perfect tangy loaf together!
Active Sourdough: Understanding the Buzz
Before we dive into the world of active sourdough recipes, let’s clarify what “active” means. It’s not just a buzzword—it’s the heart of your sourdough. An active starter has been recently fed with fresh flour and water, and is bubbling with a thriving colony of wild yeast and bacteria. These microbes work hard, producing carbon dioxide to leaven your bread and acids for that signature tang. Without an active starter, your bread will be flat, dense, and lack that classic sourdough flavor.
Ingredients: Sourdough Success
Let’s get down to brass tacks, shall we? Knowing your ingredients and understanding their role is half the battle when tackling active sourdough recipes. You wouldn’t build a house with flimsy materials, and you shouldn’t bake sourdough with subpar ingredients!
Flour: Right Flour, Right!
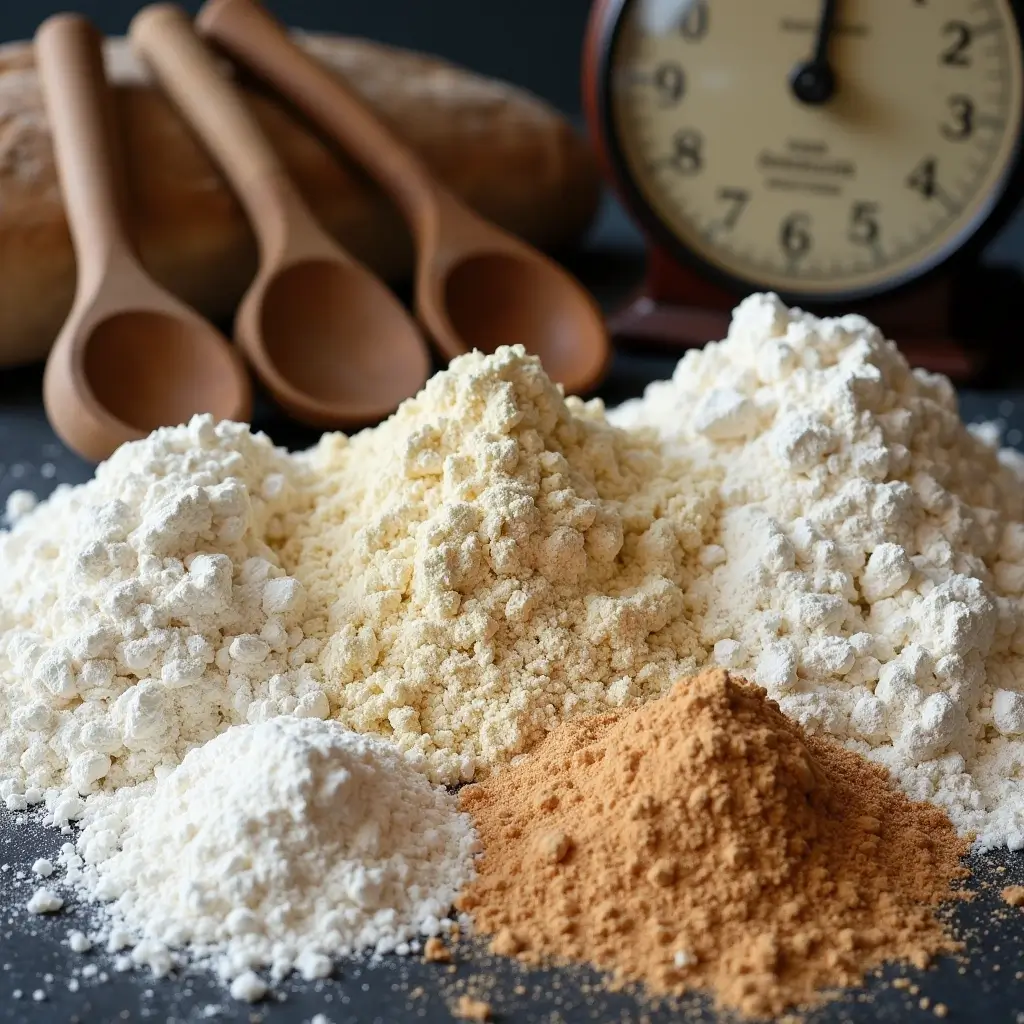
The type of flour you choose will dramatically affect the texture, crumb structure, and overall flavor of your sourdough. This isn’t just any ingredient; it’s the foundation.
- Bread Flour: This is your sourdough workhorse; think of it as the reliable, sturdy foundation of your bread. Its high protein content (gluten, baby!) provides the necessary structure for a chewy, well-risen loaf with those beautiful, airy pockets. Most classic active sourdough recipes rely heavily on bread flour.
- All-Purpose Flour: You can technically use all-purpose flour in a pinch, especially if you’re just starting out and experimenting, but your loaf might not have the same impressive rise or satisfying chew. It’s perfectly fine for initial experiments, but bread flour ultimately reigns supreme for most active sourdough recipes that aim for bakery-quality results.
- Whole Wheat Flour: Adds a delightful nutty flavor and a slightly denser, more wholesome texture to your sourdough. You can substitute a portion of the bread flour with whole wheat in many active sourdough recipes to achieve a more rustic and flavorful loaf. Just be mindful that too much whole wheat can inhibit the rise.
- Rye Flour: This flour brings a distinctive and complex tangy flavor to the party. A small amount of rye flour can significantly enhance the overall flavor complexity of your active sourdough recipes, adding depth and character. Think of it as a secret ingredient that elevates your sourdough game.
Water: Key Ingredient!
Water is far more than just a liquid in active sourdough recipes; it’s a vital component that activates the gluten in the flour and helps create a cohesive and workable dough. It’s the silent partner that brings everything together.
- Filtered Water: Always opt for filtered water to avoid any chlorine or other chemicals that could potentially inhibit the activity of the precious yeast and bacteria in your starter. You want to create a welcoming environment for those little guys.
- Temperature Matters: The water temperature can have a significant impact on the activity of your starter and the overall fermentation process. Most active sourdough recipes call for lukewarm water, which helps to kickstart the yeast and get things moving.
Starter: The Star Show!
This isn’t just an ingredient; it’s the heart and soul of your sourdough. Treat it with love, and it will reward you with incredible bread.
- What is it? In essence, it’s a living culture of wild yeast and beneficial bacteria that works its magic to leaven your bread and give it that signature, irresistible sourdough tang.
- How Active? An active starter should be noticeably bubbly and should have approximately doubled in size within 4 to 8 hours after feeding, depending on the ambient room temperature. A slight dome or a sunken top is a great indicator of peak activity.
Other Players:
These ingredients may be supporting roles, but they’re crucial for a balanced and flavorful loaf.
- Salt: This is a crucial ingredient that controls the yeast activity, preventing it from going wild and producing an overly sour loaf. It also enhances the overall flavor, bringing out the subtle nuances of the flour and starter. Don’t even think about skipping it!
- Optional Add-ins: This is where you can really let your creativity shine! The possibilities are virtually endless. Think of seeds (sunflower, pumpkin, sesame), nuts (walnuts, pecans), fresh or dried herbs (rosemary, thyme, oregano), dried fruits (cranberries, raisins), and even cheese!
Basic Recipe: Step-by-Step
Alright, let’s roll up our sleeves and get baking! Here’s a foundational active sourdough recipe that’s perfect for beginners and provides a solid base for further experimentation:
Ingredients:
- 150g Active Sourdough Starter (100% hydration – meaning equal parts flour and water)
- 350g Bread Flour
- 250g Filtered Water (lukewarm, around 85-90°F)
- 10g Salt
Equipment
- Large mixing bowl (glass or ceramic works well)
- Dough scraper (a flexible plastic one is ideal)
- Kitchen scale (essential for accurate measurements)
- Banneton basket (optional, but highly recommended for shaping)
- Dutch oven or baking stone with a roasting pan (for creating steam)
- Parchment paper
Instructions:
- Autolyse (Optional): In your large mixing bowl, combine the bread flour and filtered water. Mix until just combined, forming a shaggy dough. Cover the bowl with a damp towel or plastic wrap and let it rest for 30-60 minutes. This process, called autolysing, allows the flour to fully hydrate, which develops the gluten and results in a better texture in your final loaf.
- Mix Dough: Add the active sourdough starter and salt to the autolysed flour and water mixture. Using your hands or the dough scraper, thoroughly mix until the dough comes together into a cohesive mass. This may take a few minutes.
- Bulk Fermentation: Place the dough in a lightly oiled bowl (this prevents sticking), cover it, and let it ferment at room temperature for approximately 4-6 hours. During the first 2-3 hours of bulk fermentation, perform a series of stretch and folds every 30 to 60 minutes. To do a stretch and fold, gently grab one side of the dough, stretch it upwards, and then fold it over onto itself. Rotate the bowl and repeat this process until you’ve worked your way around the entire dough. This strengthens the gluten structure and develops flavor.
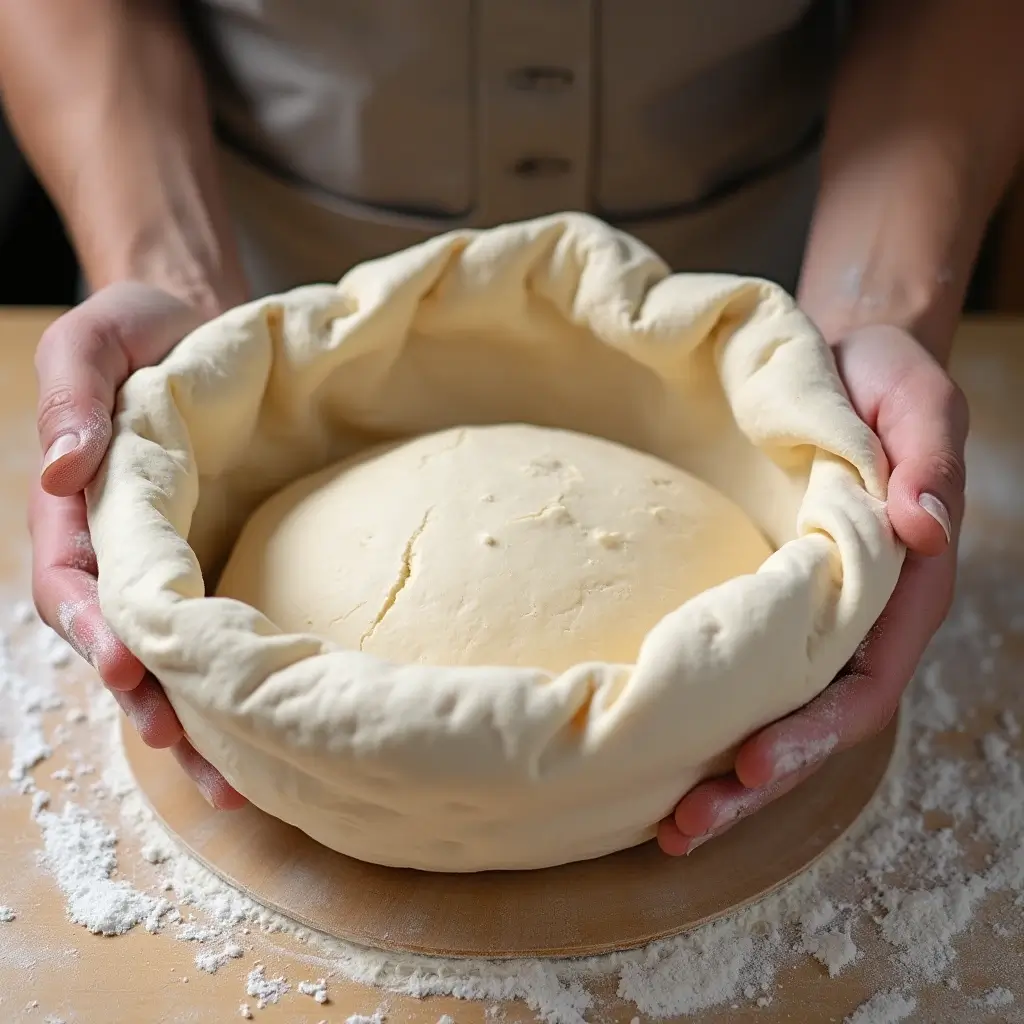
- Shape Dough: Gently turn the dough out onto a lightly floured surface. Using your hands or the dough scraper, shape it into a round (boule) or oval (batard) loaf. Be gentle, as you don’t want to degas the dough too much.
- Proofing: Place the shaped dough in a well-floured banneton basket, seam-side up. If you don’t have a banneton basket, you can use a bowl lined with a heavily floured kitchen towel. Cover the basket or bowl with plastic wrap or a damp towel and refrigerate overnight (or for up to 24 hours). This slow, cold proof develops complex flavors and improves the crust.
- Baking: Preheat your oven to 450°F (232°C) with your Dutch oven (with the lid on) inside for at least 30 minutes. The Dutch oven needs to be screaming hot! If you don’t have a Dutch oven, you can use a baking stone with a roasting pan filled with water to create steam.
- Carefully remove the scorching hot Dutch oven from the oven. Place a piece of parchment paper inside the Dutch oven (this will prevent sticking). Gently and carefully lower the dough into the Dutch oven, seam-side down.
- Score Dough: Using a very sharp knife or a lame (a special bread scoring tool), make a single deep slash or several shallower slashes across the top of the dough. Scoring allows the bread to expand properly during baking and prevents it from bursting open in unpredictable places.
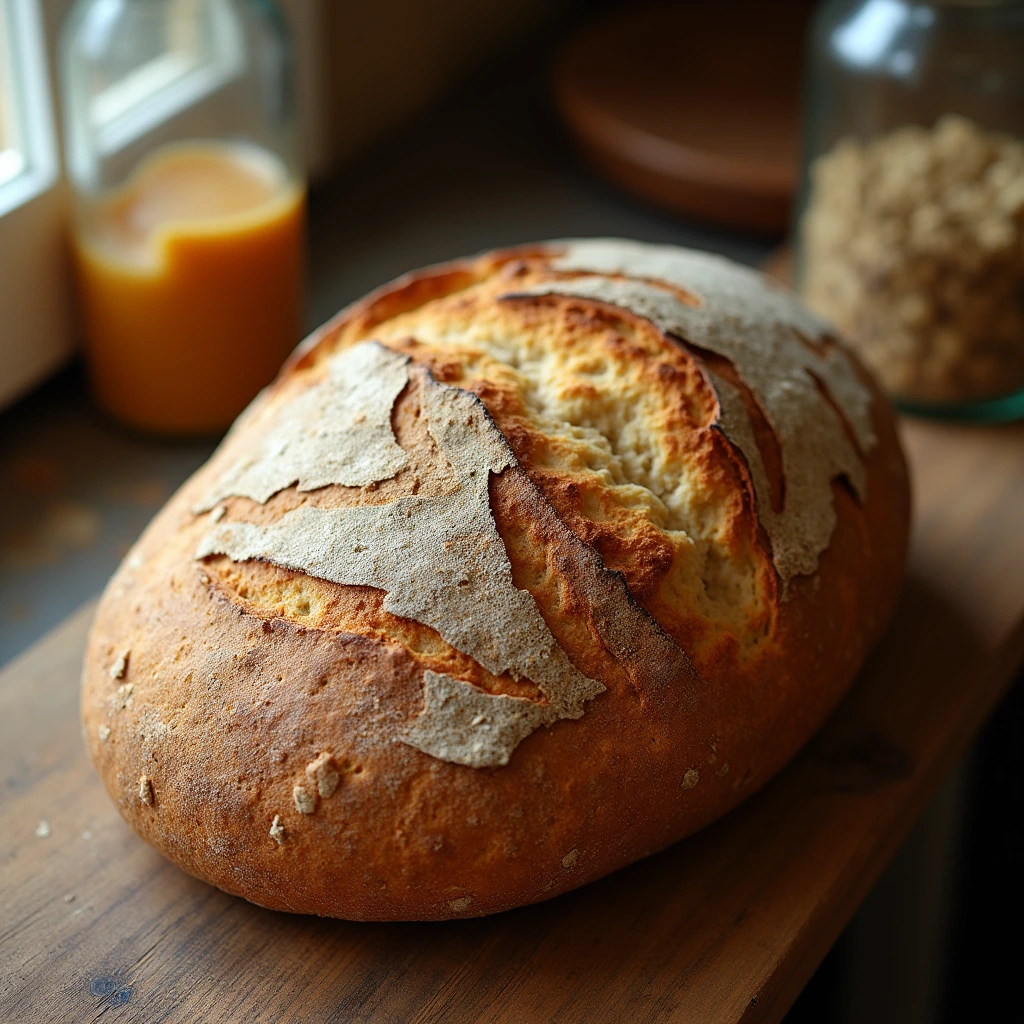
- Bake: Cover the Dutch oven with the lid and bake for 20 minutes. After 20 minutes, carefully remove the lid and continue baking for another 25-30 minutes, or until the crust is a deep golden brown color and the internal temperature of the bread reaches around 200-210°F.
- Cooling: Once baked, carefully remove the bread from the Dutch oven and let it cool completely on a wire rack before slicing and enjoying. This is absolutely crucial for developing the proper texture and allowing the interior crumb to set. Resist the temptation to slice it while it’s still warm!
Troubleshooting: Common Challenges
Even the most seasoned sourdough bakers encounter challenges from time to time. Here’s how to diagnose and tackle some of the most common sourdough issues:
- Dough Not Rising:
- Starter Not Active Enough: This is the most frequent culprit. Ensure your starter is bubbly, has doubled after feeding, and passes the float test.
- Temperature Too Cold: Sourdough thrives in warm environments. If your kitchen is chilly, try placing the dough in a slightly warmer spot, like near a pilot light or in a slightly warmed oven.
- Insufficient Time: Sometimes, all you need is more patience. Let the dough ferment for a longer period, especially if the temperature is on the cooler side.
- Flat Loaf:
- Over-Proofing: The dough has fermented for too long, causing the gluten to weaken and lose its ability to hold its shape. Unfortunately, there’s not much you can do to salvage over-proofed dough.
- Weak Gluten: Ensure you’re performing stretch and folds during bulk fermentation to build strength.
- Too Much Water: Hydration is important, but too much water can lead to a slack dough that struggles to hold its shape. Reduce the amount of water slightly in your next attempt.
- Gummy Crumb:
- Under-Baking: Make sure the bread is thoroughly baked before removing it from the oven. Use a thermometer to confirm the internal temperature has reached 200-210°F.
- Slicing Too Soon: The crumb needs time to set properly. Resist the temptation to slice into it while it’s still warm, no matter how tempting it may be!
Creative Recipes: Beyond Basic

Once you’ve mastered the fundamental loaf, the vast and exciting world of active sourdough recipes is wide open for you to explore! Here are just a few inspiring ideas to get those creative gears turning:
Garlic Herb Sourdough
Infuse your sourdough with savory goodness by adding minced garlic (roasted or fresh) and a generous handful of chopped fresh herbs like rosemary, thyme, oregano, or chives to the dough during the mixing stage.
Olive Rosemary Sourdough
Transport your taste buds to the Mediterranean by incorporating chopped Kalamata olives (or your favorite variety) and fresh rosemary needles into the dough.
Cheddar Jalapeño Dough
For those who crave a little heat and cheesy goodness, add shredded sharp cheddar cheese and finely diced jalapeños (remove the seeds for less heat) to the dough during mixing.
Chocolate Sourdough Dough
Indulge your sweet tooth with a decadent chocolate sourdough. Add unsweetened cocoa powder and dark chocolate chips or chunks to the dough for a rich and satisfying treat.
Pizza Dough Sourdough
Transform your active sourdough starter into a tangy and incredibly flavorful pizza crust. The possibilities for toppings are endless!
Nutrition: Sourdough Slice
Note: Nutritional information can vary based on the recipe.
| Nutrient | Amount per Slice (approx.) |
| Calories | 150-200 |
| Fat | 1-2g |
| Saturated Fat | 0-0.5g |
| Cholesterol | 0mg |
| Sodium | 200-300mg |
| Carbohydrates | 30-40g |
| Fiber | 2-4g |
| Sugar | 0-1g |
| Protein | 5-7g |
Disclaimer: These values are estimates only. Always consult a registered dietitian.
Pro Tips: Mastering Sourdough
- Use Scale: Invest in a kitchen scale for accurate measurements.
- Temp Matters: Pay attention to the temperature.
- Develop Starter: A strong starter is key!
- Be Patient: It takes time to develop skill.
- Experiment: Don’t be afraid to try new things!
FAQ: Sourdough Questions
Here are some FAQs that should help you:
- Is my starter active? Look for bubbles and double the size.
- Can I use cold water? Lukewarm is best for activity.
- Why is bread dense? Likely, starter, time, or water.
- How do I score? Sharp blade at an angle.
- What is banneton? Proofing basket shape loaf.
- Can I freeze it? Wrap tight, thaw completely.
Sourdough: Your Adventure!
Baking with an active sourdough starter is a fulfilling adventure. While it may seem daunting at first, with practice, you’ll create loaves that impress. Grab your ingredients, activate that starter, and enjoy!