
Table of Contents
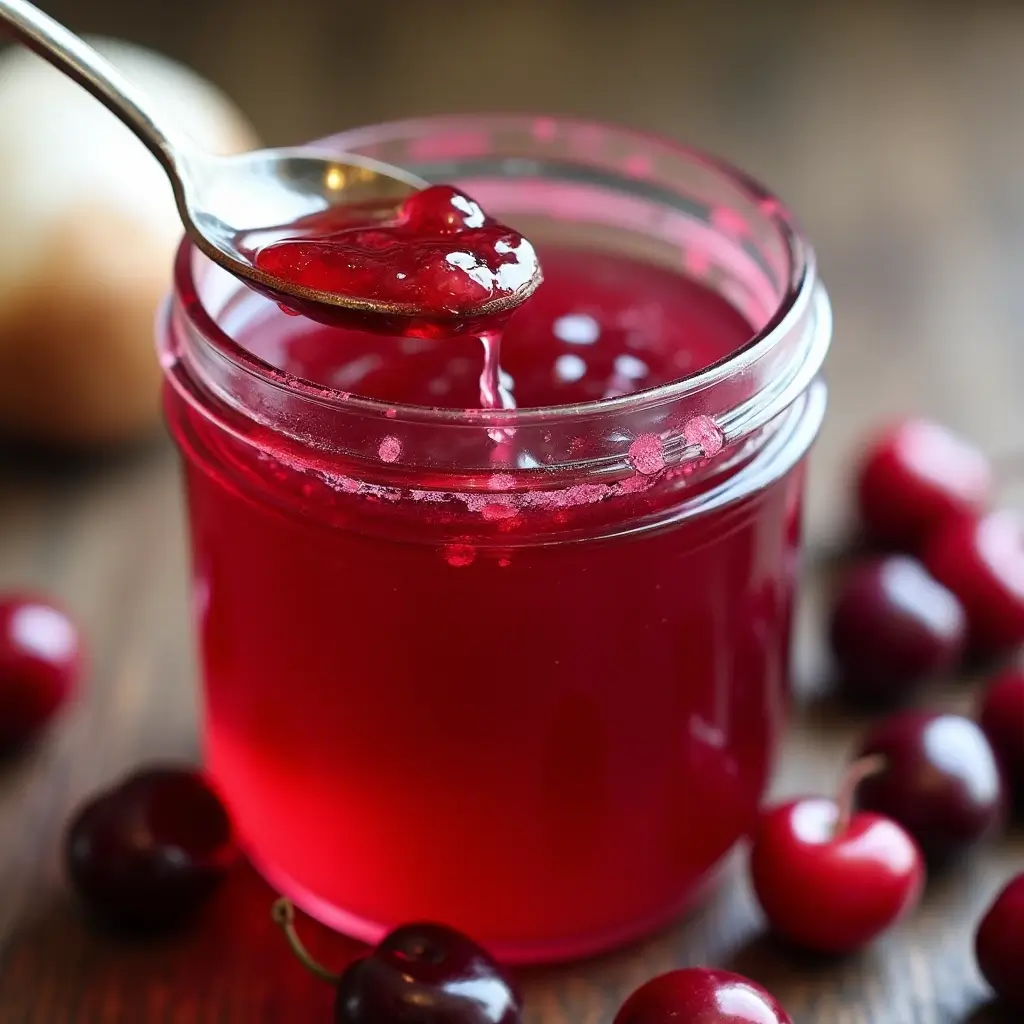
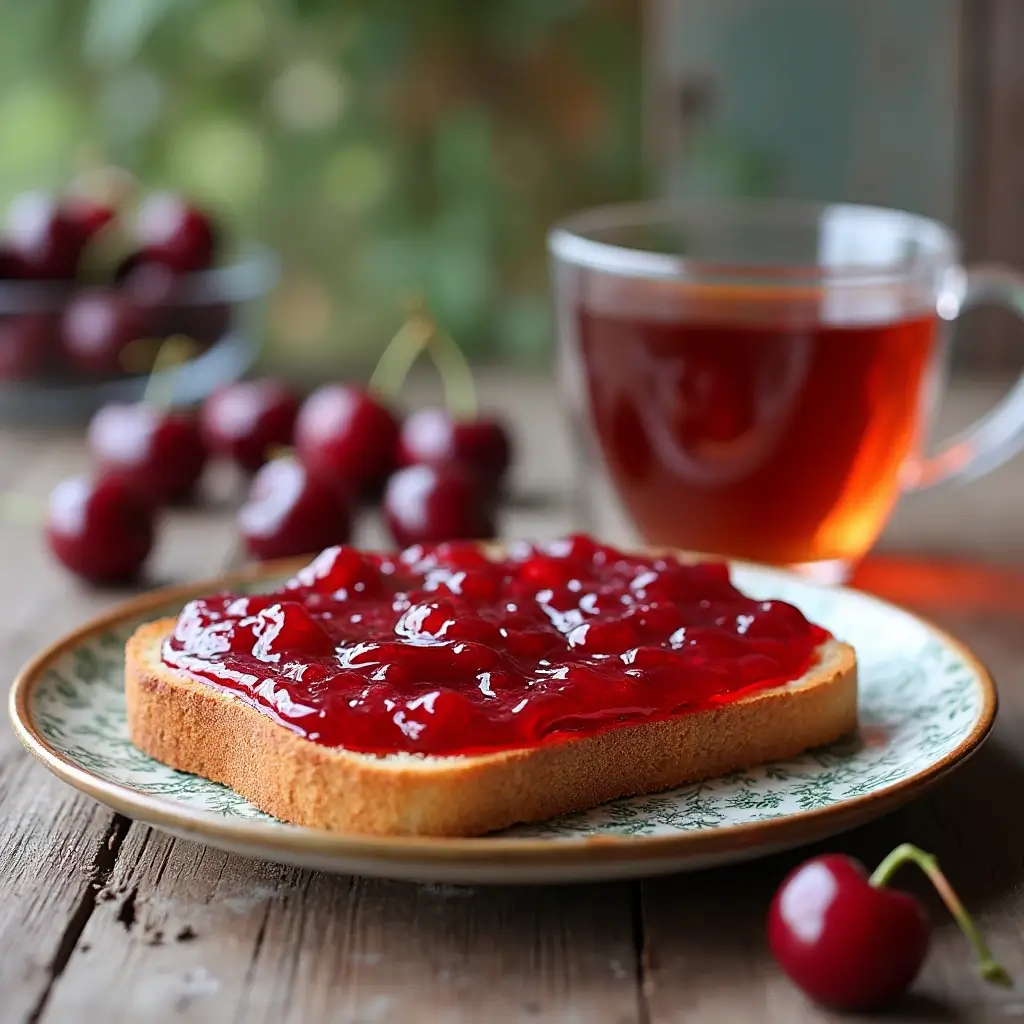
There’s nothing quite like the taste of homemade cherry jelly. The vibrant burst of sweet cherry flavor and its smooth, shimmering texture create a delightful experience that evokes memories of childhood summers and joyful picnics. If you’ve ever wanted to recreate that magic in your own kitchen, you’re in the right place. This comprehensive guide will take you through each step of crafting an exceptional cherry jelly recipe, from selecting the ripest cherries to achieving the perfect set. Get ready to impress your friends and family with this easy yet sensational cherry jelly recipe. Let’s dive in and turn those beautiful cherries into jars of pure deliciousness!
Discovering the Wonders of a Homemade Cherry Jelly Recipe
Cherry jelly, with its stunning color and rich, intense flavor, is more than just a treat; it’s a timeless classic. It’s not only about the taste, though, is it? It’s equally about the rewarding process of creating something by hand, something that will bring joy and smiles to those who are fortunate enough to taste it. Before we put on our aprons and start cooking, let’s explore the sheer beauty of a good cherry jelly recipe and why it’s such a delightful addition to your culinary repertoire.
Why Making Your Own Cherry Jelly Recipe is Always a Great Choice
Creating things from scratch in our kitchens is truly special. When you make your own cherry jelly recipe, you control every ingredient, allowing you to choose the freshest cherries, adjust the sweetness, and avoid artificial additives. There’s a satisfying feeling that comes from crafting something extraordinary with your own hands. Plus, a homemade cherry jelly recipe makes a thoughtful gift, beautifully presented in a jar and deliciously showing how much you care. If you’re seeking a rewarding and tasty experience, homemade is the way to go!
Understanding the Core Principles of Jelly Making for Your Cherry Treat
Before diving into our specific cherry jelly recipe, it’s important to understand the core principles of jelly making. The key to a successful jelly is pectin, a natural substance that helps achieve the proper set. For pectin to work effectively, it requires the right balance of sugar and acid. The correct ratio of these three ingredients is crucial. We’ll also discuss the importance of cooking time, another key factor in achieving that perfect set. Grasping these basics will set you up for success and empower you to create delicious cherry jelly every time!
The Ultimate Cherry Jelly Recipe: A Detailed, Step-by-Step Guide
Alright, it’s now time to get down to the heart of the matter: the actual cherry jelly recipe. This recipe has been designed to be straightforward, easy to follow, and guarantees the best possible results. You’ll be amazed at just how simple it is to create this vibrant, delicious, and beautiful jelly right in the comfort of your own kitchen. So, let’s put on our aprons, gather our ingredients, and get ready to transform some beautiful cherries into a delectable, unforgettable treat!
Assembling Your Ingredients for This Delicious Cherry Jelly
Before we even start to think about cooking, let’s make sure we have every ingredient we need, all prepped and ready to go. Here is a complete list of the ingredients you’ll need for this truly amazing cherry jelly recipe:
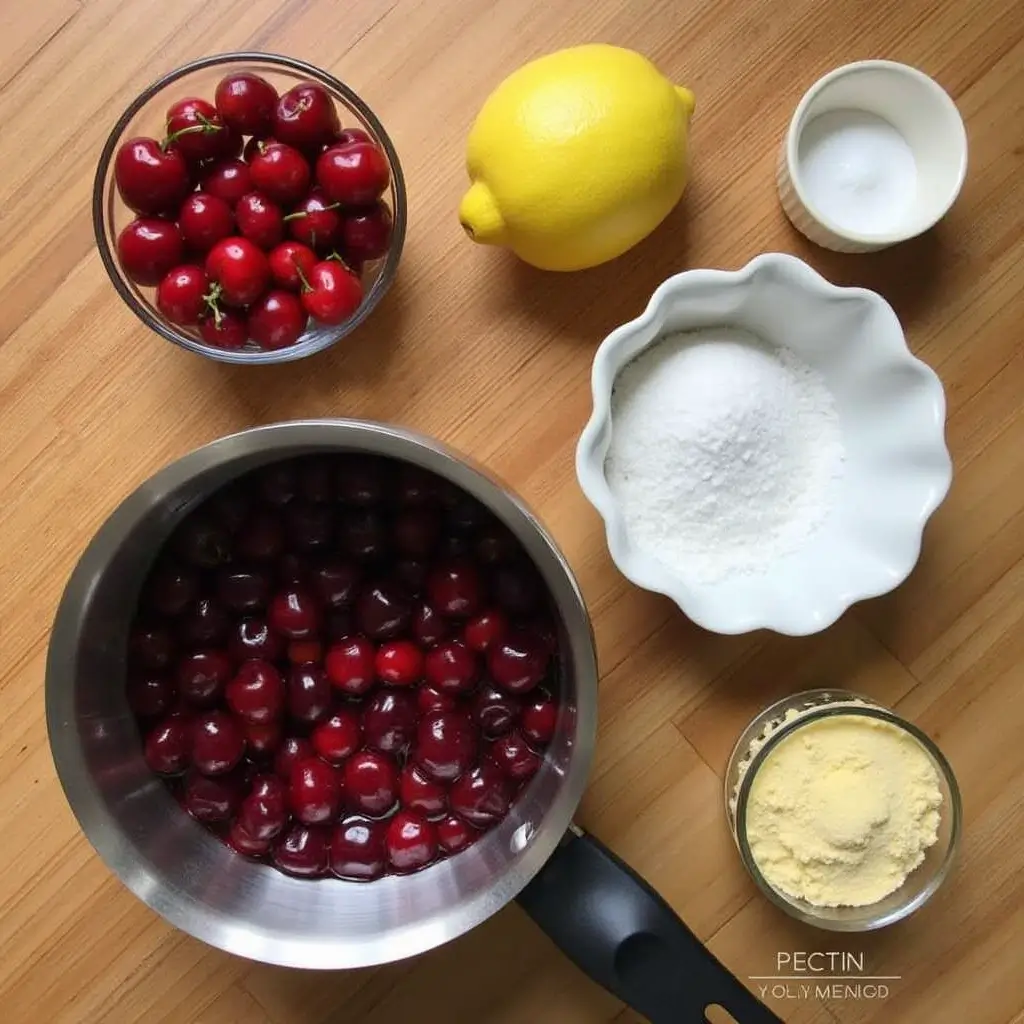
- 4 cups of fresh, ripe cherries, pitted and roughly chopped
- 4 cups of water
- 4 cups of granulated sugar, to provide sweetness and aid in setting
- 1/4 cup of fresh lemon juice, for its acidity
- 1 packet (1.75 oz) of powdered pectin, to create the jelly’s texture
Step-by-Step Instructions: Crafting Your Own Cherry Jelly
Okay, let’s get to cooking! Carefully follow these simple and easy-to-understand steps to make your own delicious batch of homemade cherry jelly:
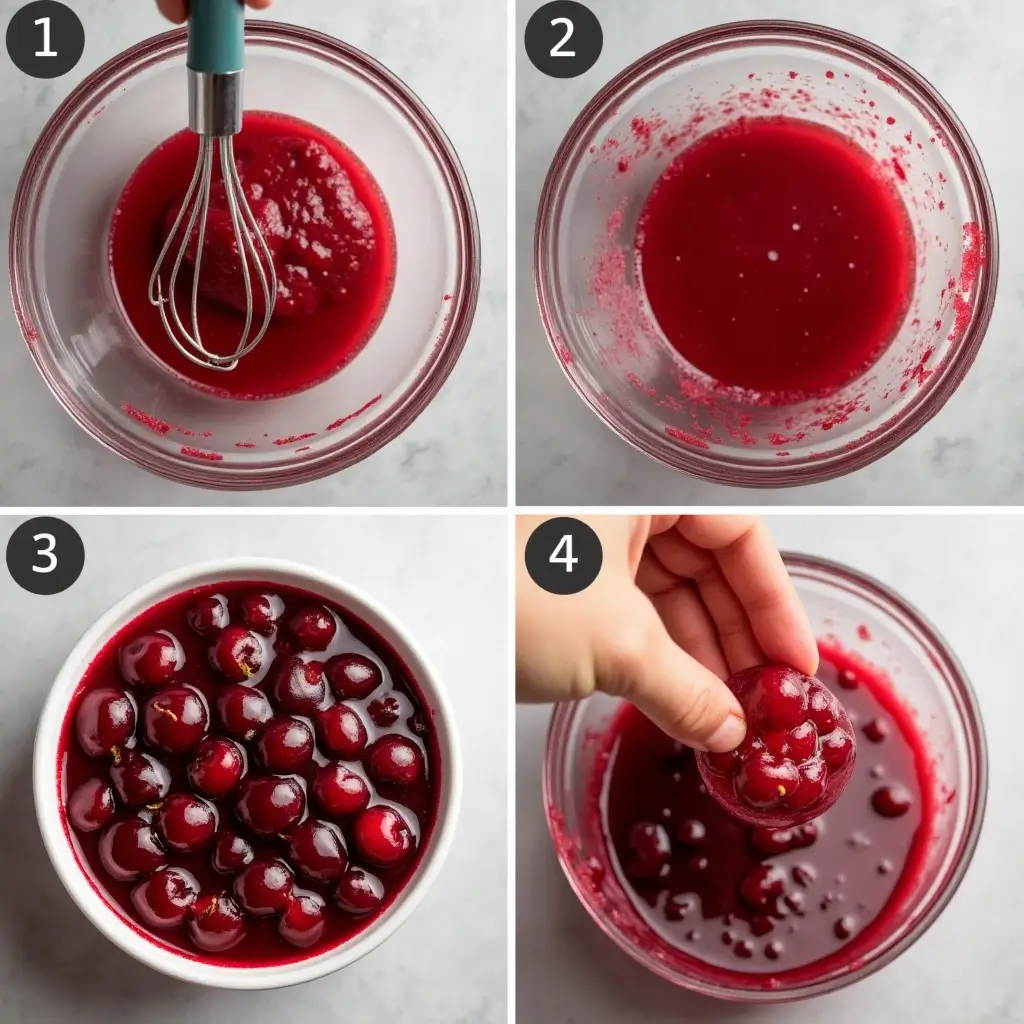
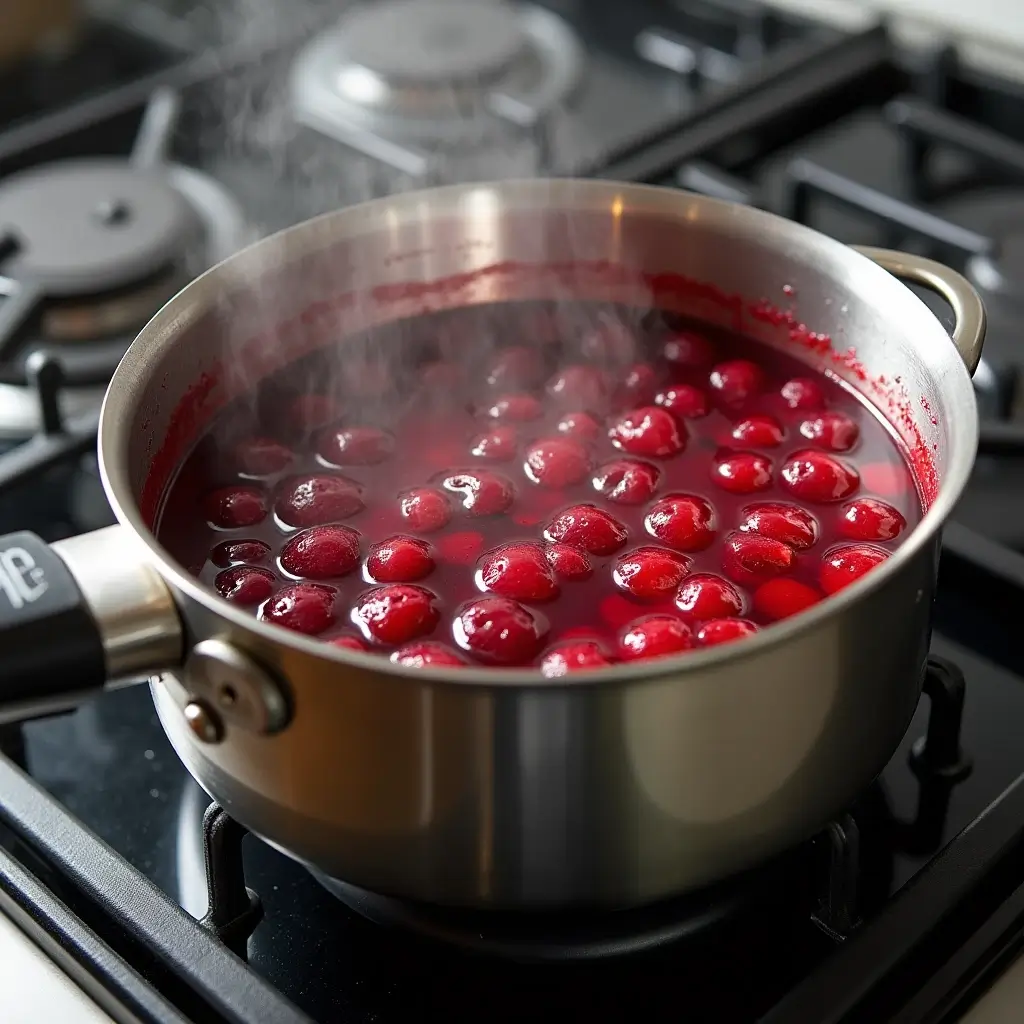
- Prepare the Cherries: In a large, heavy-bottomed pot, combine the pitted and roughly chopped cherries with the water.
- Cook the Cherries: Bring the mixture to a boil over medium-high heat. Once boiling, reduce the heat to medium-low and allow the mixture to simmer for approximately 20 minutes, or until the cherries are beautifully soft and have released all of their delicious juice.
- Strain the Juice: Line a large colander with a double layer of cheesecloth. Place the colander over a large bowl and carefully pour the cooked cherry mixture into the colander. Allow the juice to drain through the cheesecloth naturally, for about 30 minutes. Avoid the temptation to press or squeeze the pulp, as this can make the resulting jelly cloudy, which is something we want to avoid.
- Measure the Cherry Juice: You should have about 4 cups of strained cherry juice. If you have a little bit less or more, adjust the sugar accordingly to maintain the correct ratio.
- Combine the Juice and Pectin: In a clean, heavy-bottomed pot, combine the strained cherry juice and the powdered pectin. Bring this mixture to a rolling boil over medium-high heat, and continue stirring constantly.
- Add Sugar and Lemon Juice: Add the granulated sugar and lemon juice to the mixture, and stir well to combine all the ingredients. Bring the mixture back to a rolling boil, again, stirring it continuously to prevent scorching.
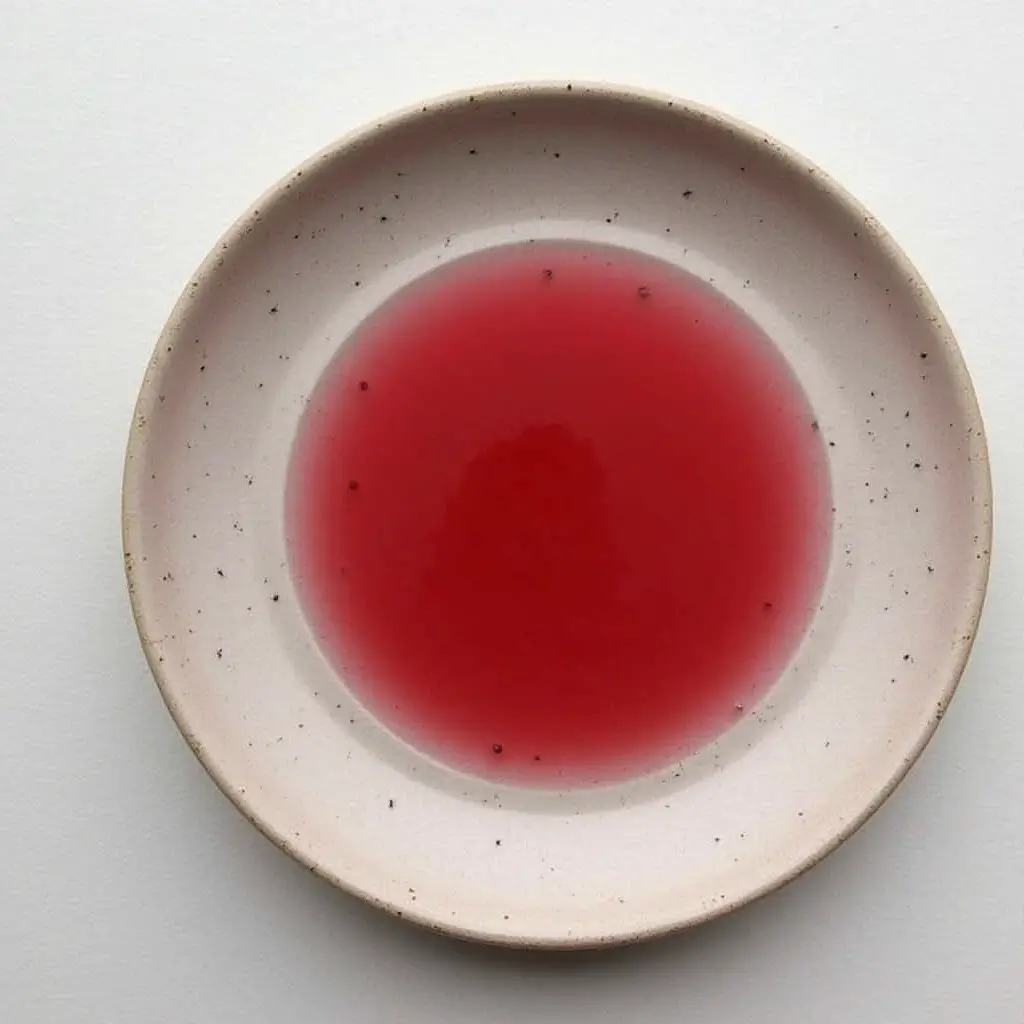
- Boil and Test: Boil the mixture vigorously for exactly 1 minute, all the while stirring constantly. Remove the pot from the heat and test the jelly’s set by placing a small amount of the jelly on a cold plate. It should set within a couple of minutes. If it is not setting correctly, continue to boil for another minute and test again.
- Skim the Foam (Optional): If there is any foam present on the surface of the jelly, use a spoon to gently skim it off. This will give your jelly a much clearer appearance.
- Pour Into Jars: Carefully and slowly pour the hot jelly into sterilized jars, leaving approximately 1/4 inch of headspace at the top of the jar.
- Process the Jars: If you plan to store the jars of jelly at room temperature for long periods, process them in a boiling water bath for about 10 minutes. If you do not intend to store them for long periods of time, you can skip this step and simply refrigerate the jelly instead.
- Cool and Store: Allow the jars to cool completely at room temperature before storing them in your pantry or refrigerator.
Expert Tips for Creating the Perfect Cherry Jelly
Ready to take your cherry jelly to the next level? Here are some additional helpful tips:
- Use the Freshest Cherries: The best tasting jelly always comes from using the freshest, ripest, and most flavorful cherries that you can find.
- Don’t Rush the Straining Process: Allow the juice to drain naturally from the cherries. This will give you the clearest and best looking jelly. Avoid pressing or squeezing on the pulp, as this can make your jelly cloudy.
- Stir, Stir, and Stir Again!: When the jelly is boiling, remember to stir it constantly to avoid any scorching and to make sure the pectin is evenly distributed throughout the mixture.
- Testing the Set is Important: It is very important to test the set of the jelly before you pour it into the jars to ensure that it will set up properly and have the right consistency.
- Sterilize Your Jars: Remember to always sterilize your jars and lids properly, especially if you plan on processing your jelly for longer-term storage. This helps to prevent the formation of any unwanted bacteria.
Nutritional Information for Cherry Jelly (per 1 tablespoon serving)
Let’s take a quick look at the approximate nutritional data for one tablespoon of homemade cherry jelly. Keep in mind that these values may vary slightly depending on the specific ingredients you use and the exact recipe you follow.
| Nutrient | Amount per 1 tablespoon |
| Calories | 50-60 |
| Carbohydrates | 13-15g |
| Sugar | 12-14g |
Remember, this nutritional data is just an approximation. For more precise and detailed information, make sure you do a more detailed analysis based on your specific recipe and the ingredients that you choose to use.
Frequently Asked Questions About Making Your Own Cherry Jelly
Let’s tackle some common questions people often ask when they try making cherry jelly for the first time. We’ve got all the answers you need right here.
Is it Possible to Use Frozen Cherries for This Recipe?
Yes, you can certainly use frozen cherries for this recipe. Just make sure that you thaw them completely first and drain any excess liquid before you begin.
What Happens If My Jelly Doesn’t Set Properly?
If your jelly doesn’t set as it should, it could be due to a lack of pectin or acid. You can try adding a little more lemon juice or an extra bit of powdered pectin and then re-boiling the mixture to see if that helps.
Can I Reduce the Amount of Sugar in This Recipe?
While it is possible to reduce the amount of sugar, it’s important to bear in mind that sugar is not just for sweetness in this recipe; it also plays a very important role in the setting process. Reducing the sugar too much can easily result in a jelly that doesn’t set up properly and will end up with a runny consistency.
What is the Best Way to Sterilize My Jars and Lids?
You can sterilize your jars and lids effectively by washing them in hot, soapy water, rinsing them very well, and then placing them in a boiling water bath for at least 10 minutes. You can also put them in a 250°F oven for approximately 20 minutes.
How Long Will This Homemade Cherry Jelly Last?
If you process the jars properly using a boiling water bath, homemade cherry jelly will typically last for up to a year when stored in a cool, dark, and dry place. Once opened, you should store it in your refrigerator and use it within a few weeks for optimal quality and freshness.
Can I Use a Different Kind of Pectin?
Yes, you can absolutely use liquid pectin instead of powdered pectin, but it’s important to remember that you will need to adjust the amount used and the timings accordingly. Always make sure you carefully refer to the packaging of your pectin for specific instructions.
Conclusion: Savoring the Sweet Taste of Homemade Cherry Jelly
And there you have it! A comprehensive and easy-to-follow guide to making your own incredibly delicious, homemade cherry jelly. This recipe is easy, and most importantly, it’s fun to make! The vibrant color, the smooth texture, and the incredible taste of homemade cherry jelly make it such a delightful addition to any kitchen. It’s also a wonderful skill to have, and a treat that is always a favorite. So, gather your ingredients, put on your apron, and get ready to create your very own jar of pure, sweet, and delicious cherry jelly! Happy jelly making!
“Try our delicious Banana Bread Recipe using just 2 bananas for a quick and easy treat!”
1 thought on ““Cherry Jelly Recipe: A Delightful Treat You Can’t Resist!””